Steps
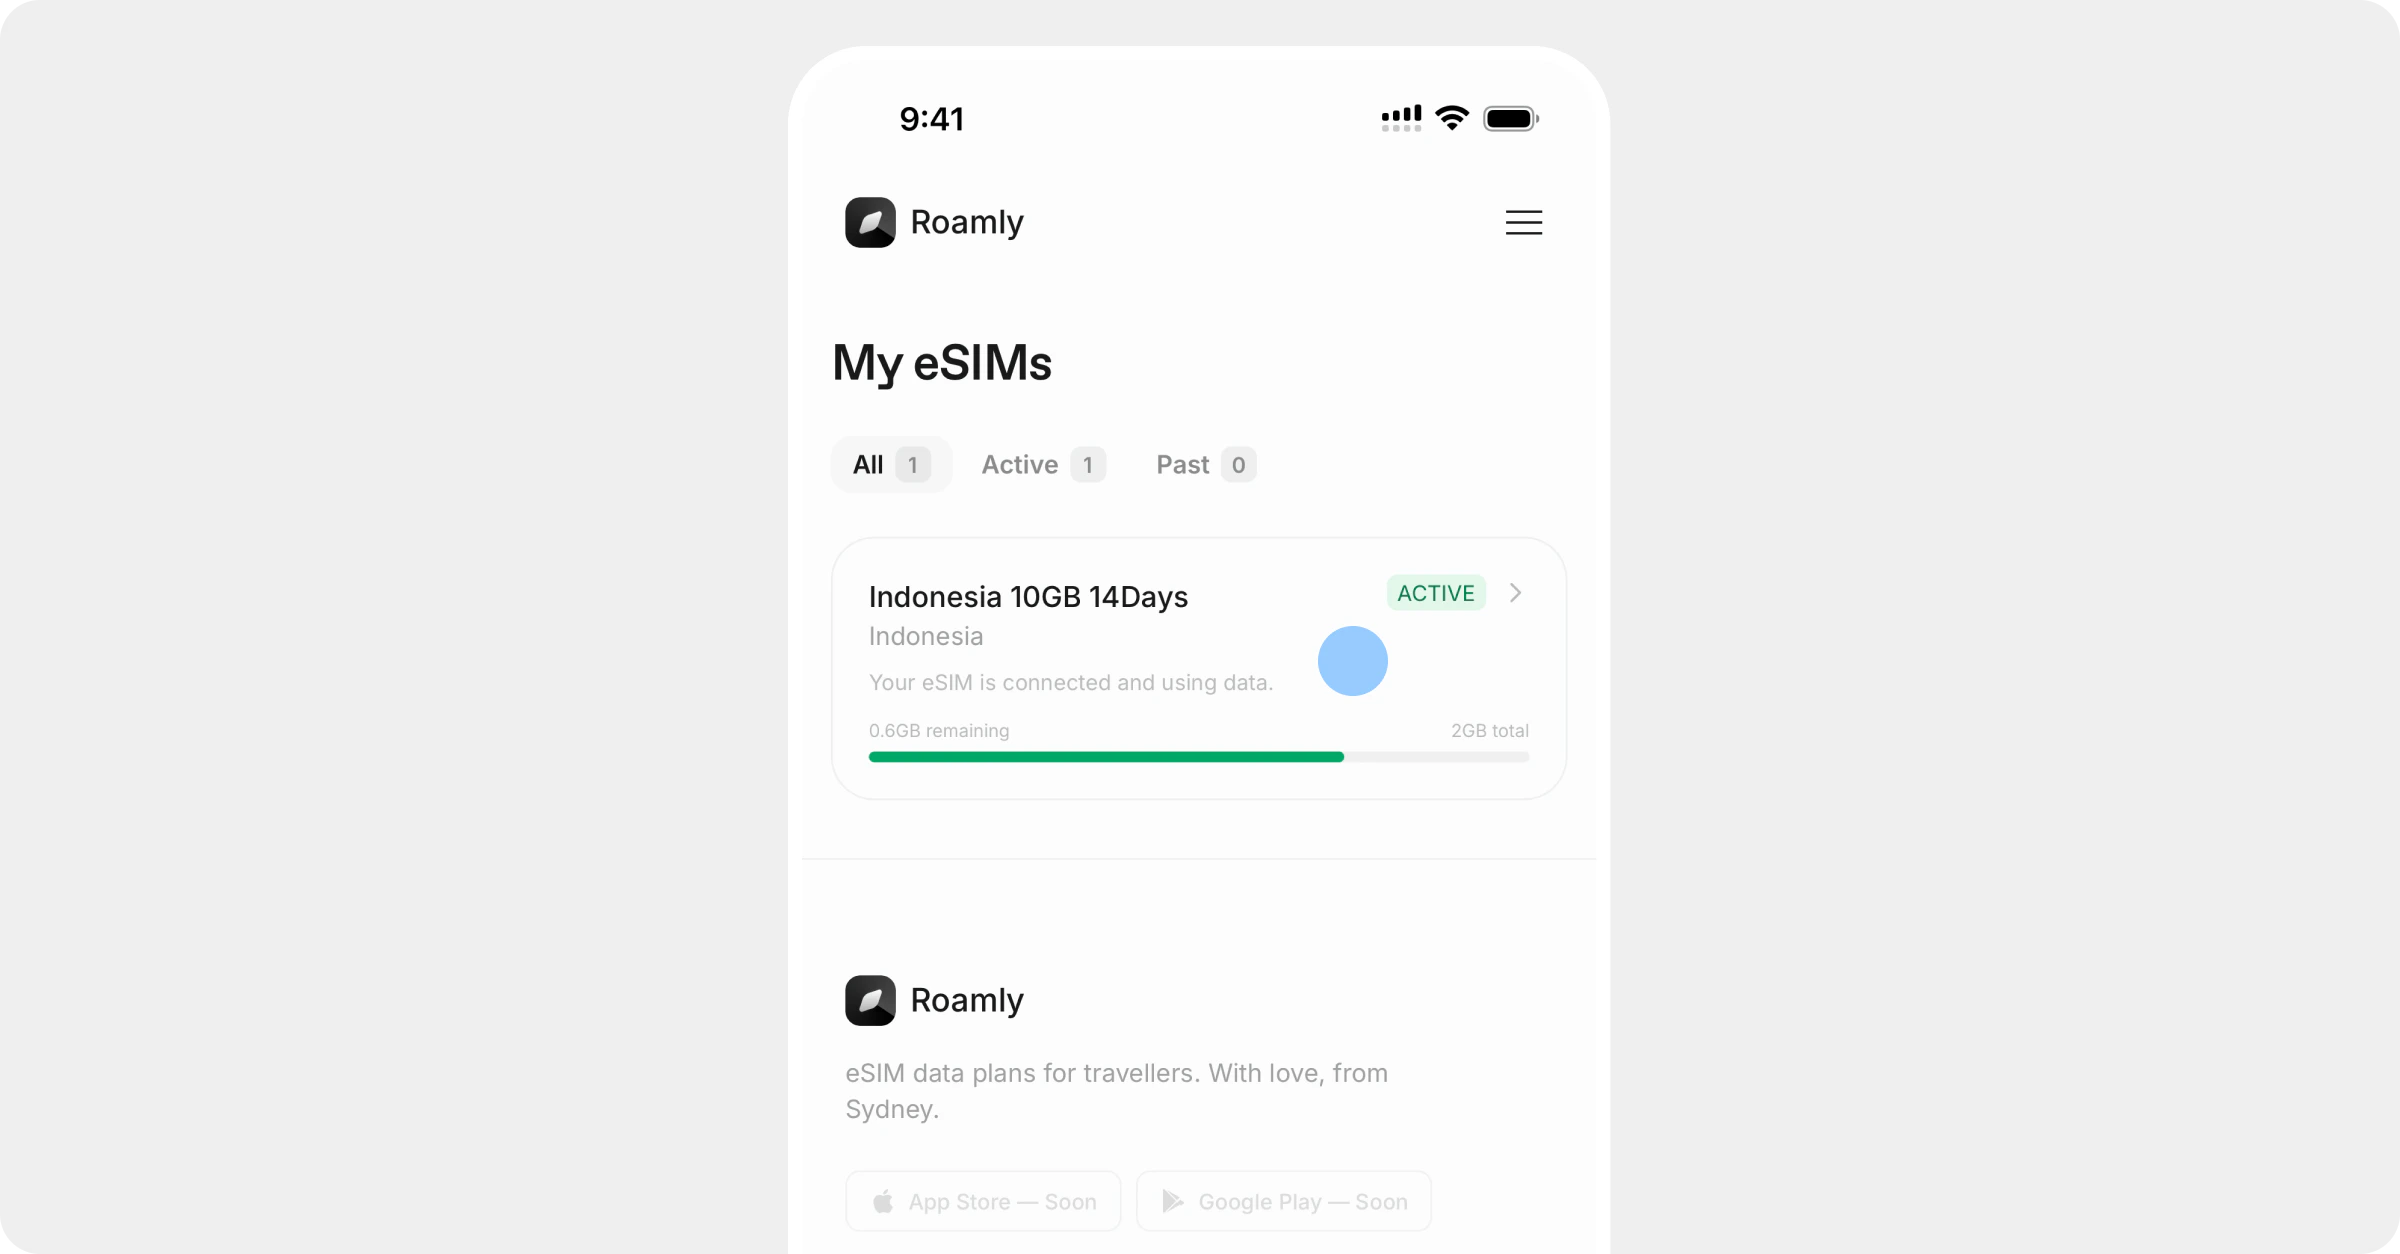
- Go to My eSIMs and tap on the eSIM you want to rename.
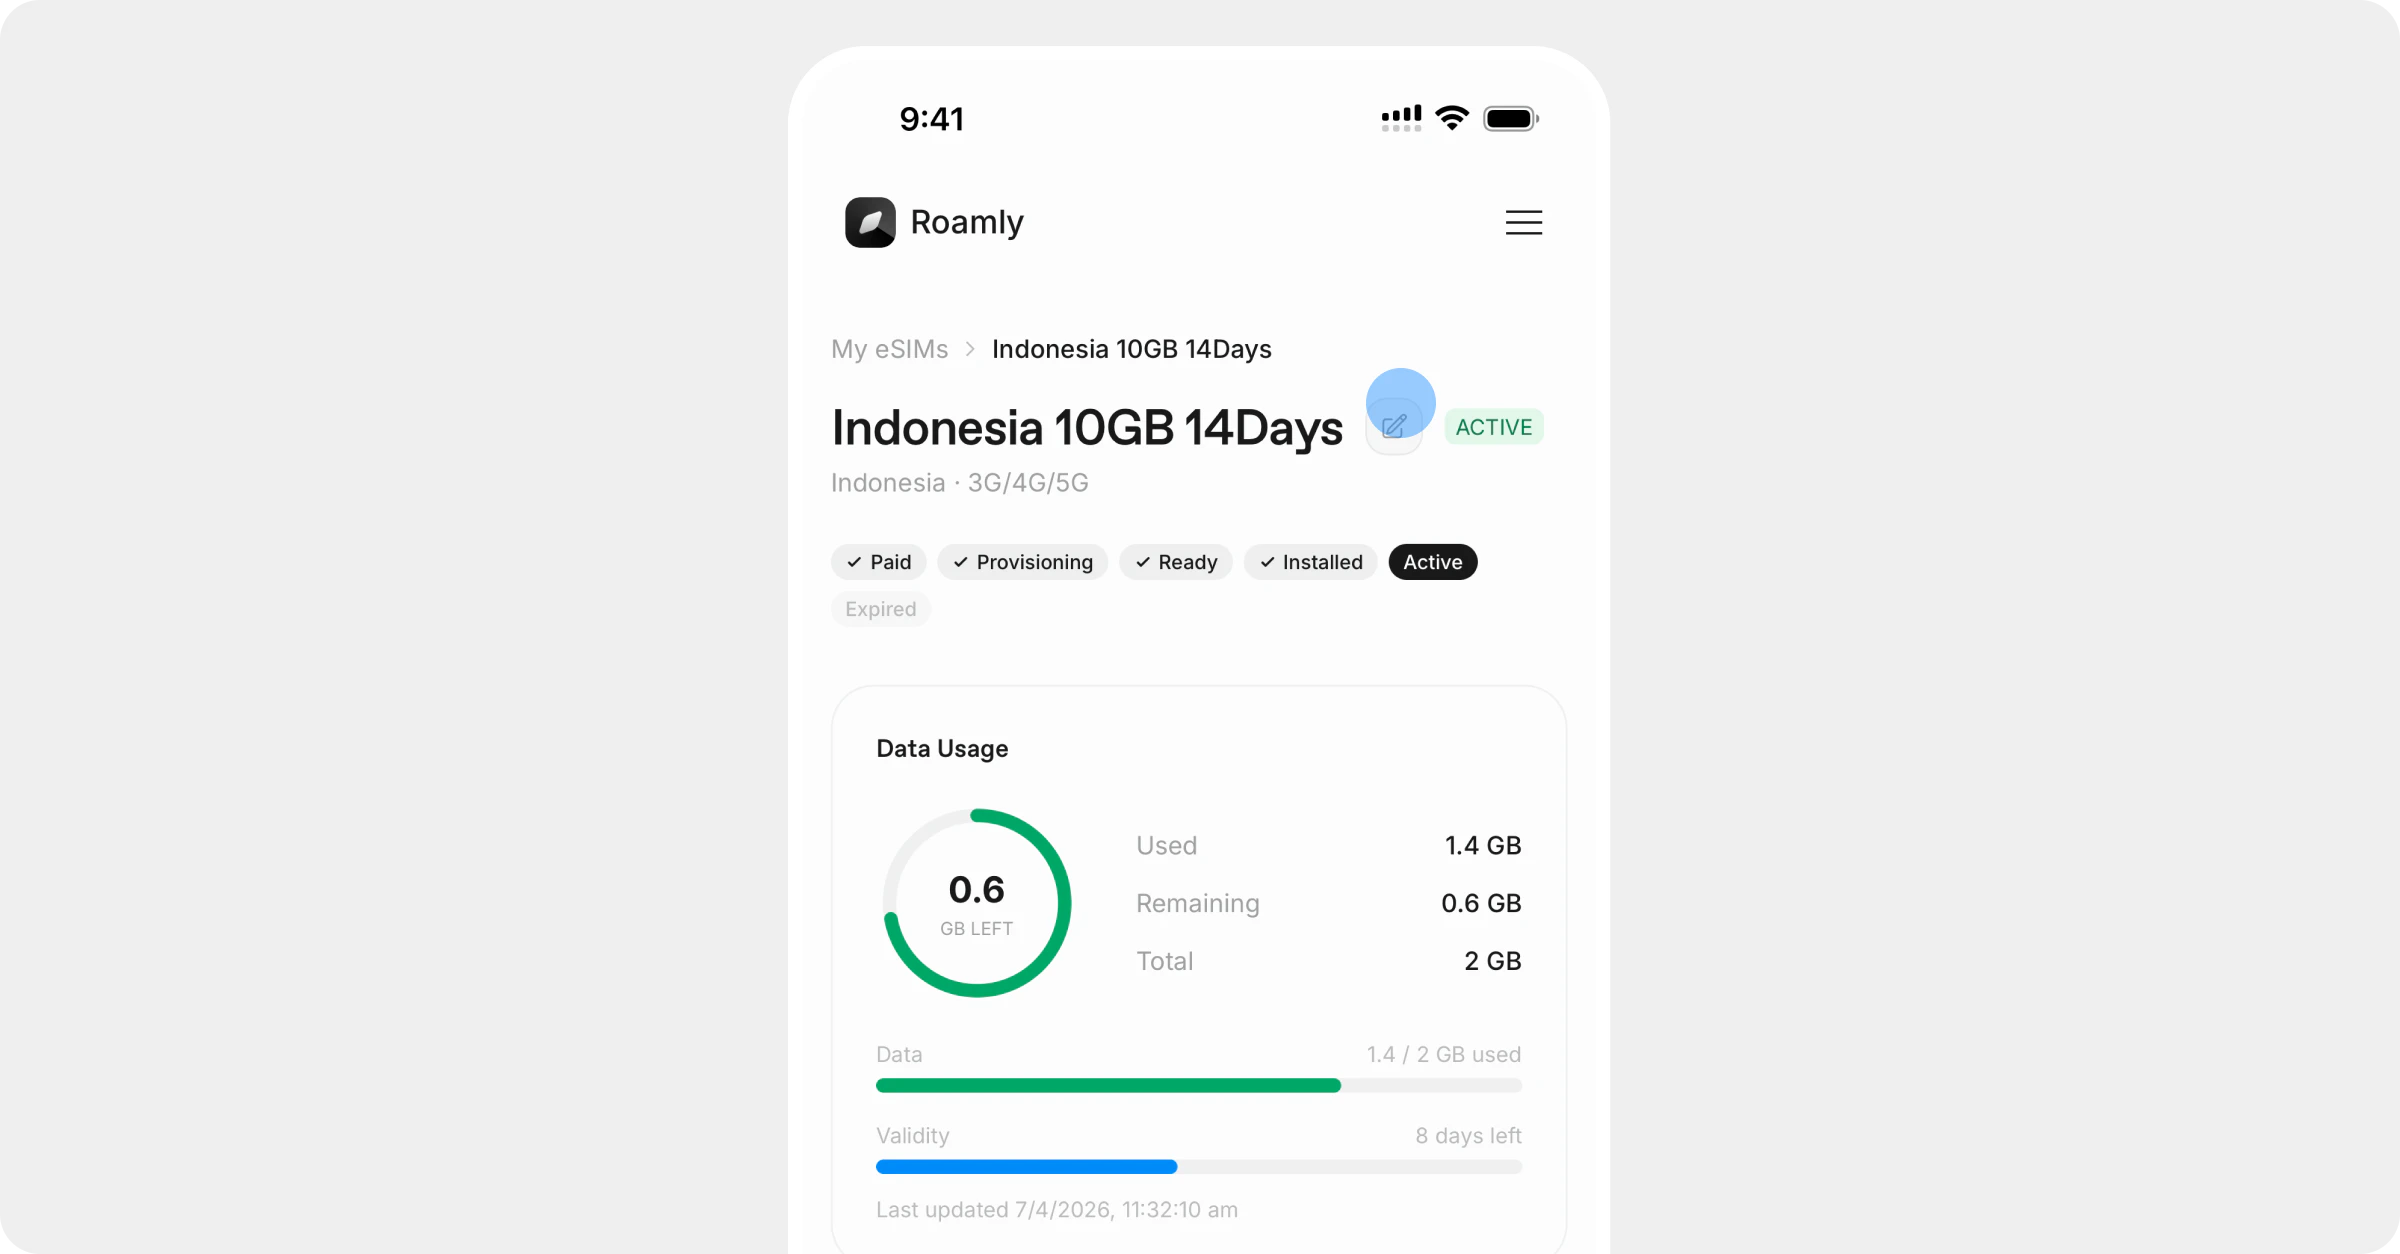
- Tap the pencil icon next to the eSIM name.
- Enter your new name (e.g. “Japan Trip” or “Jake’s eSIM”).
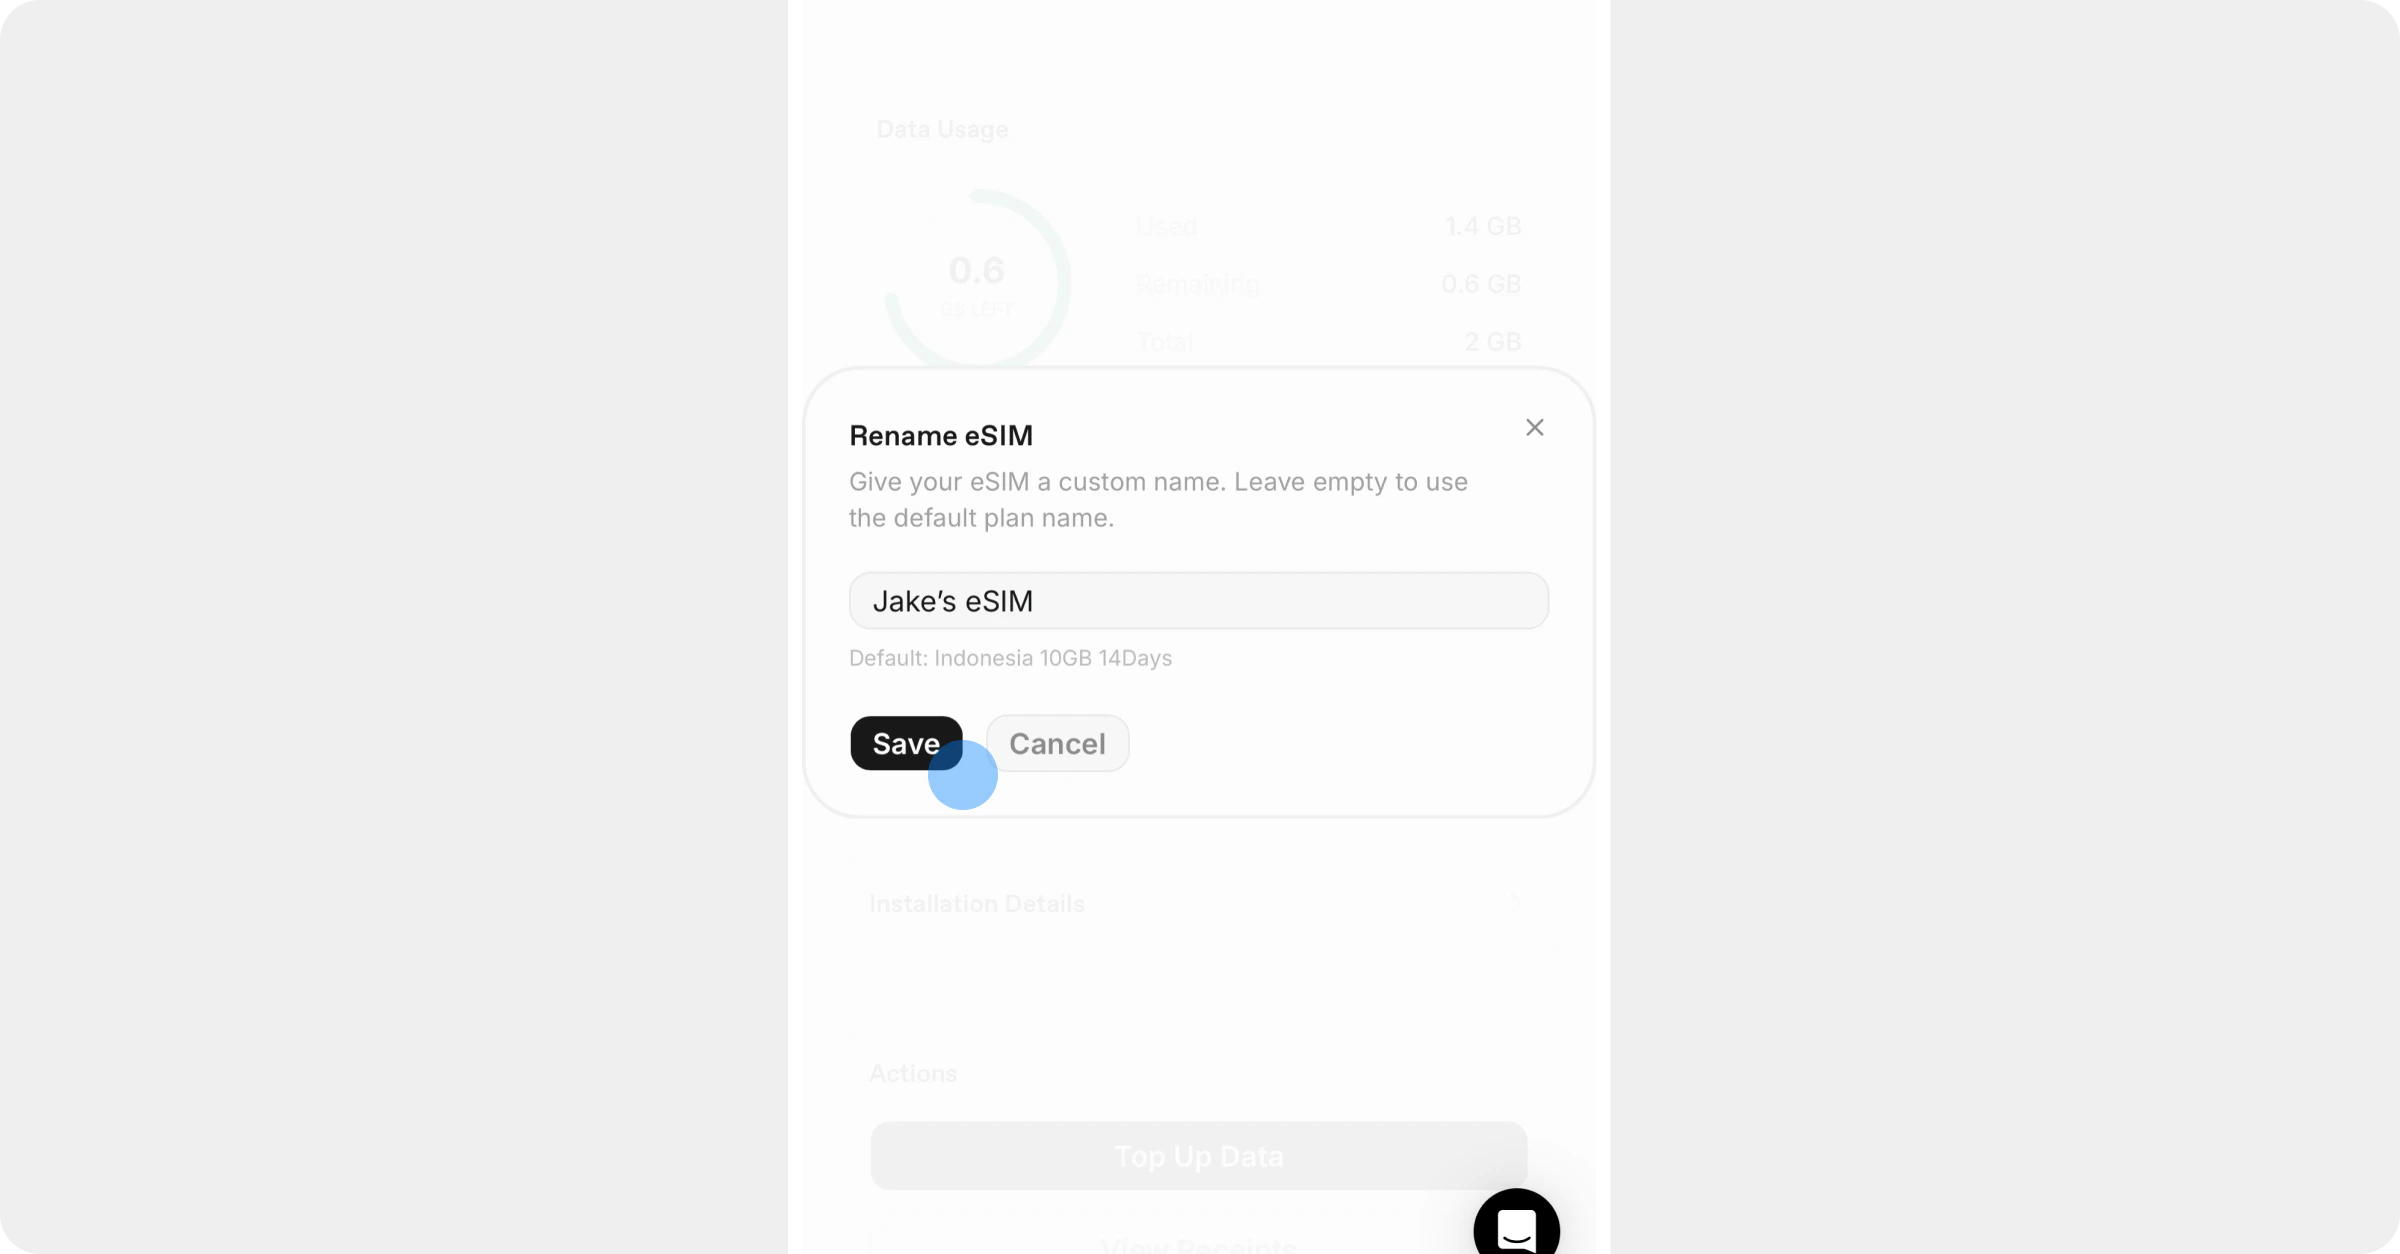
- Tap Save.
Tips
- Leave the name field empty to revert to the default plan name.
- The custom name is only visible in your Roamly account — it doesn’t change anything on your phone’s settings.
- You can rename your eSIM at any time, even after it’s been activated.