Before you start — Make sure you’re connected to WiFi and that your iPhone supports eSIM. We recommend installing your eSIM before you travel, while you’re at home. The whole process takes under a minute, and you don’t need to activate it yet.
Install via the Roamly portal
Go to My eSIMs
Log in to Roamly and navigate to My eSIMs. Tap on the eSIM you’d like to install, then tap “Add to iPhone”.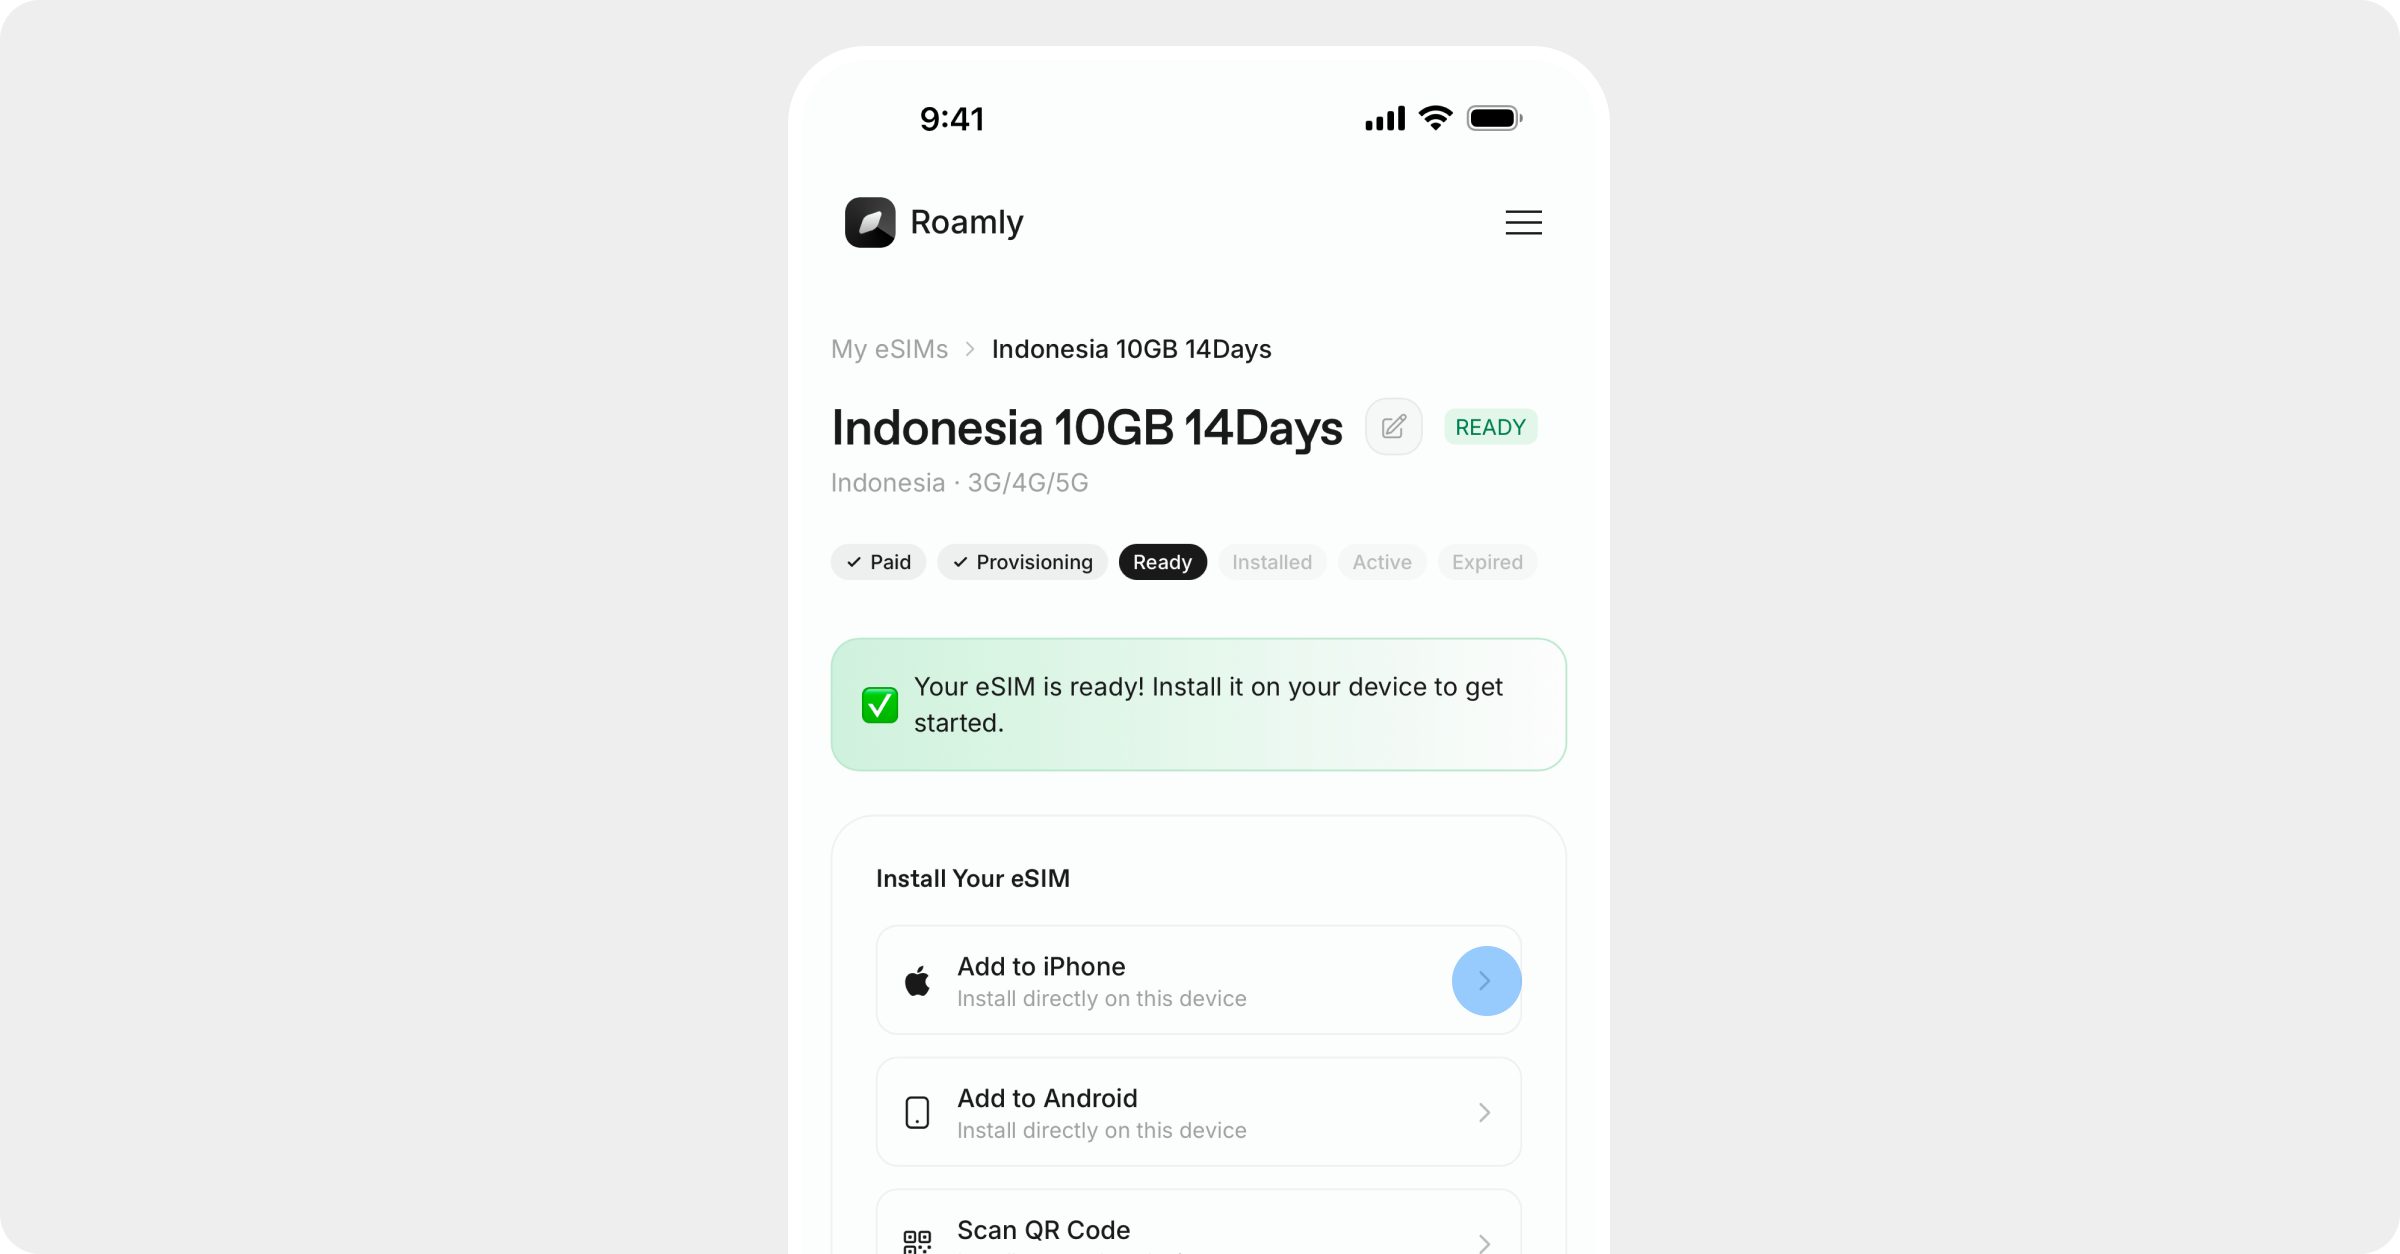
Install your data plan
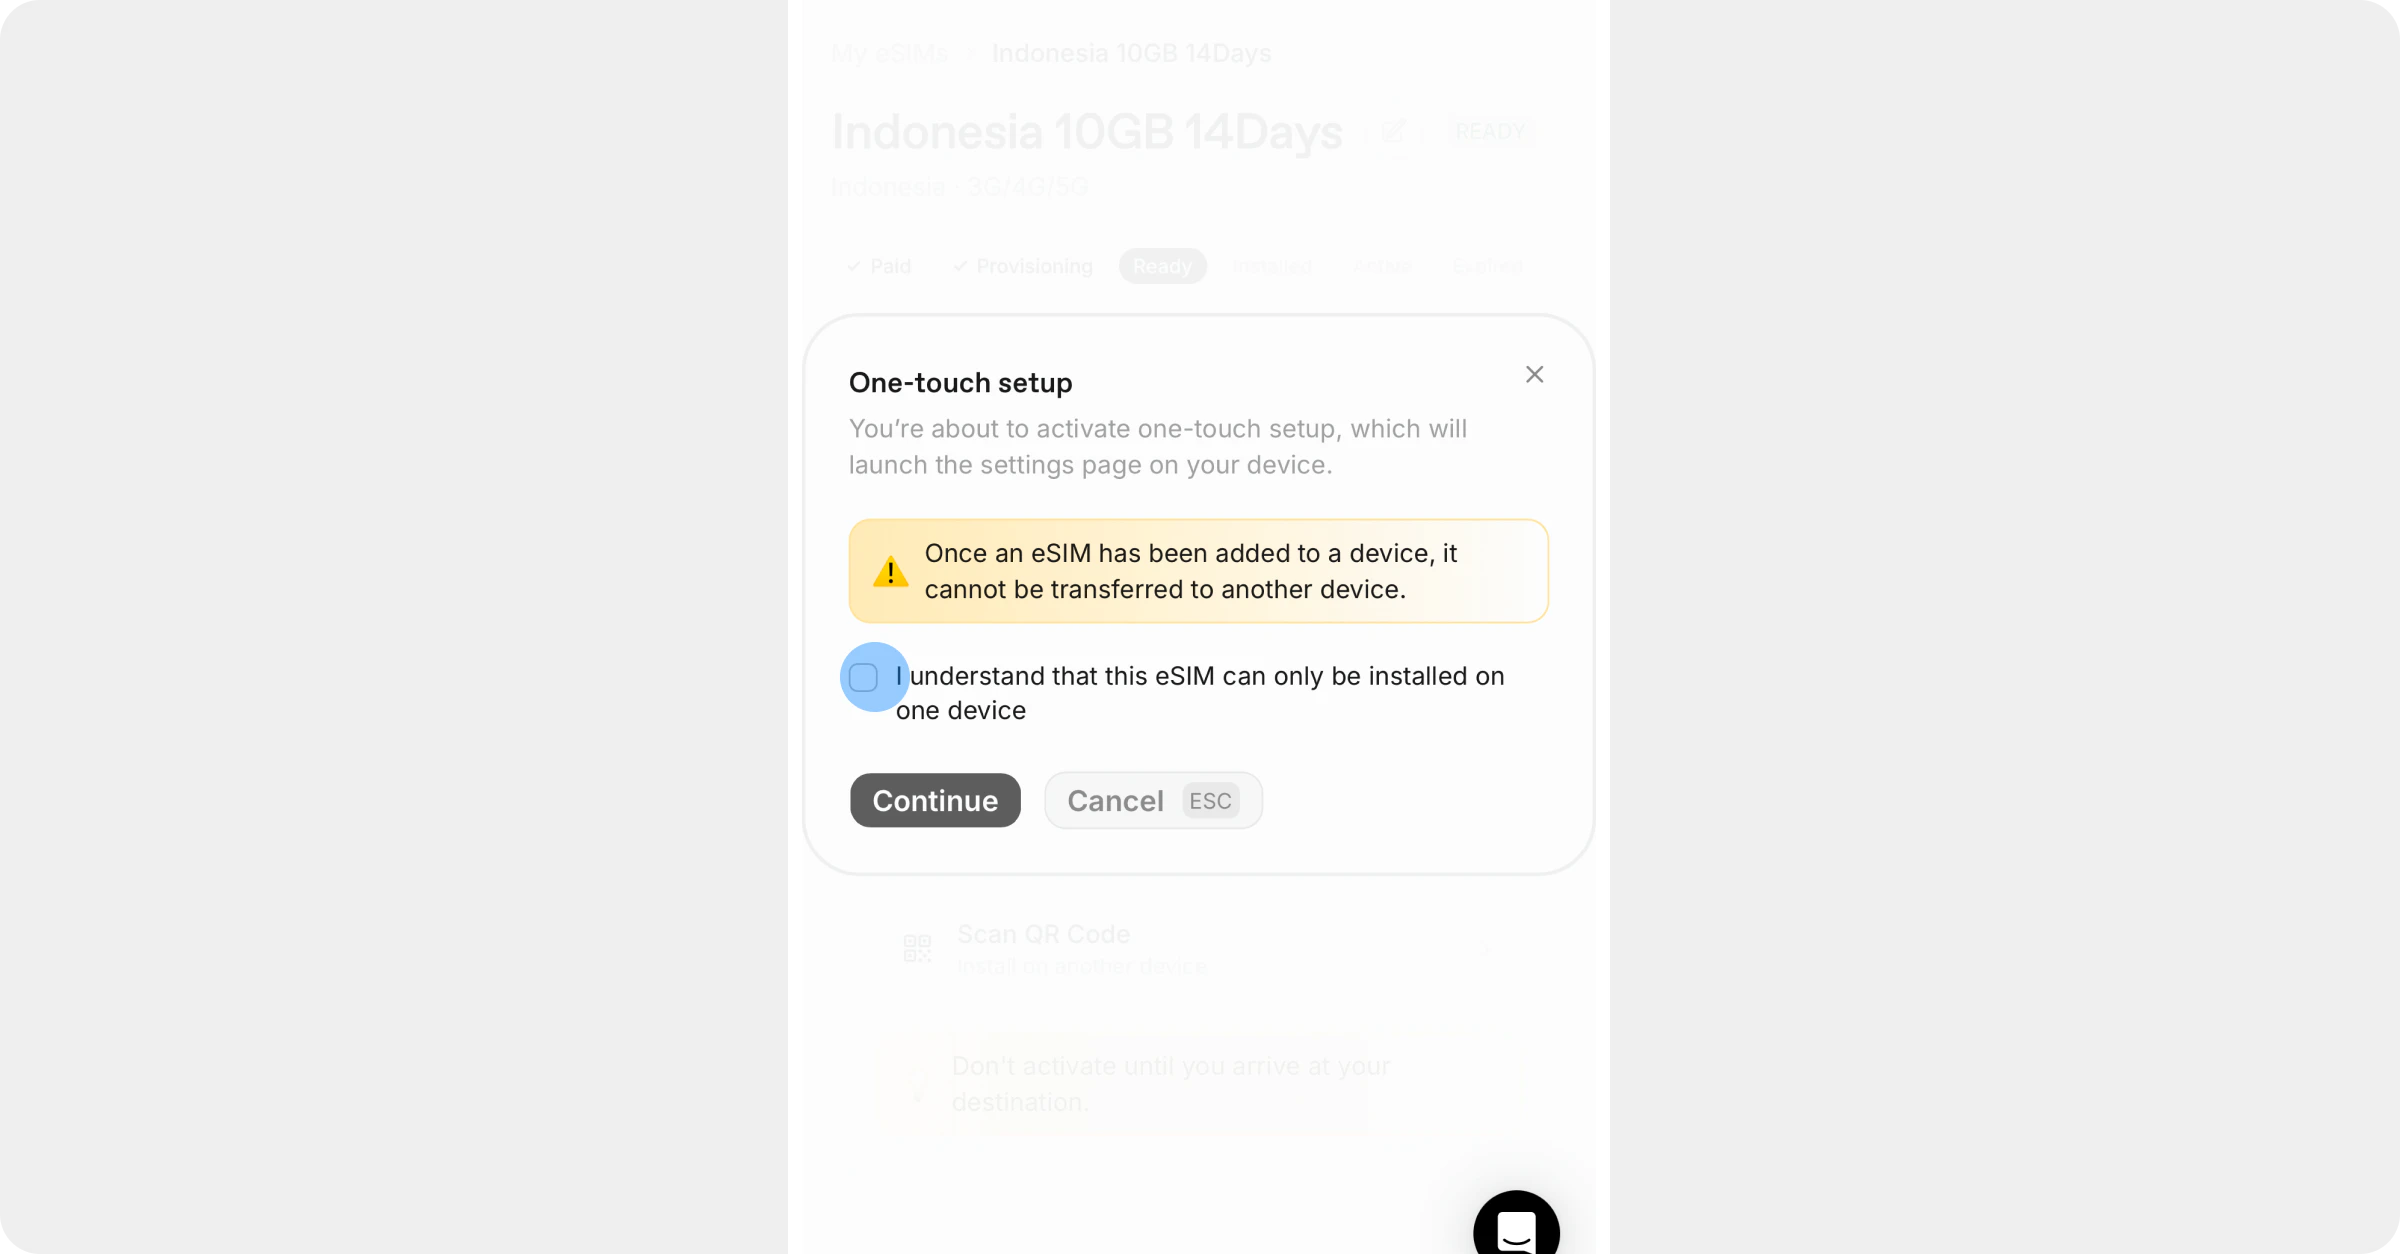
Your iPhone will take you to Settings and show an “Add eSIM” prompt. This means the eSIM profile has been detected and is ready to install.You may also see a prompt letting you know that your EID (a unique identifier built into your device’s eSIM chip) will be shared with Roamly to activate your eSIM.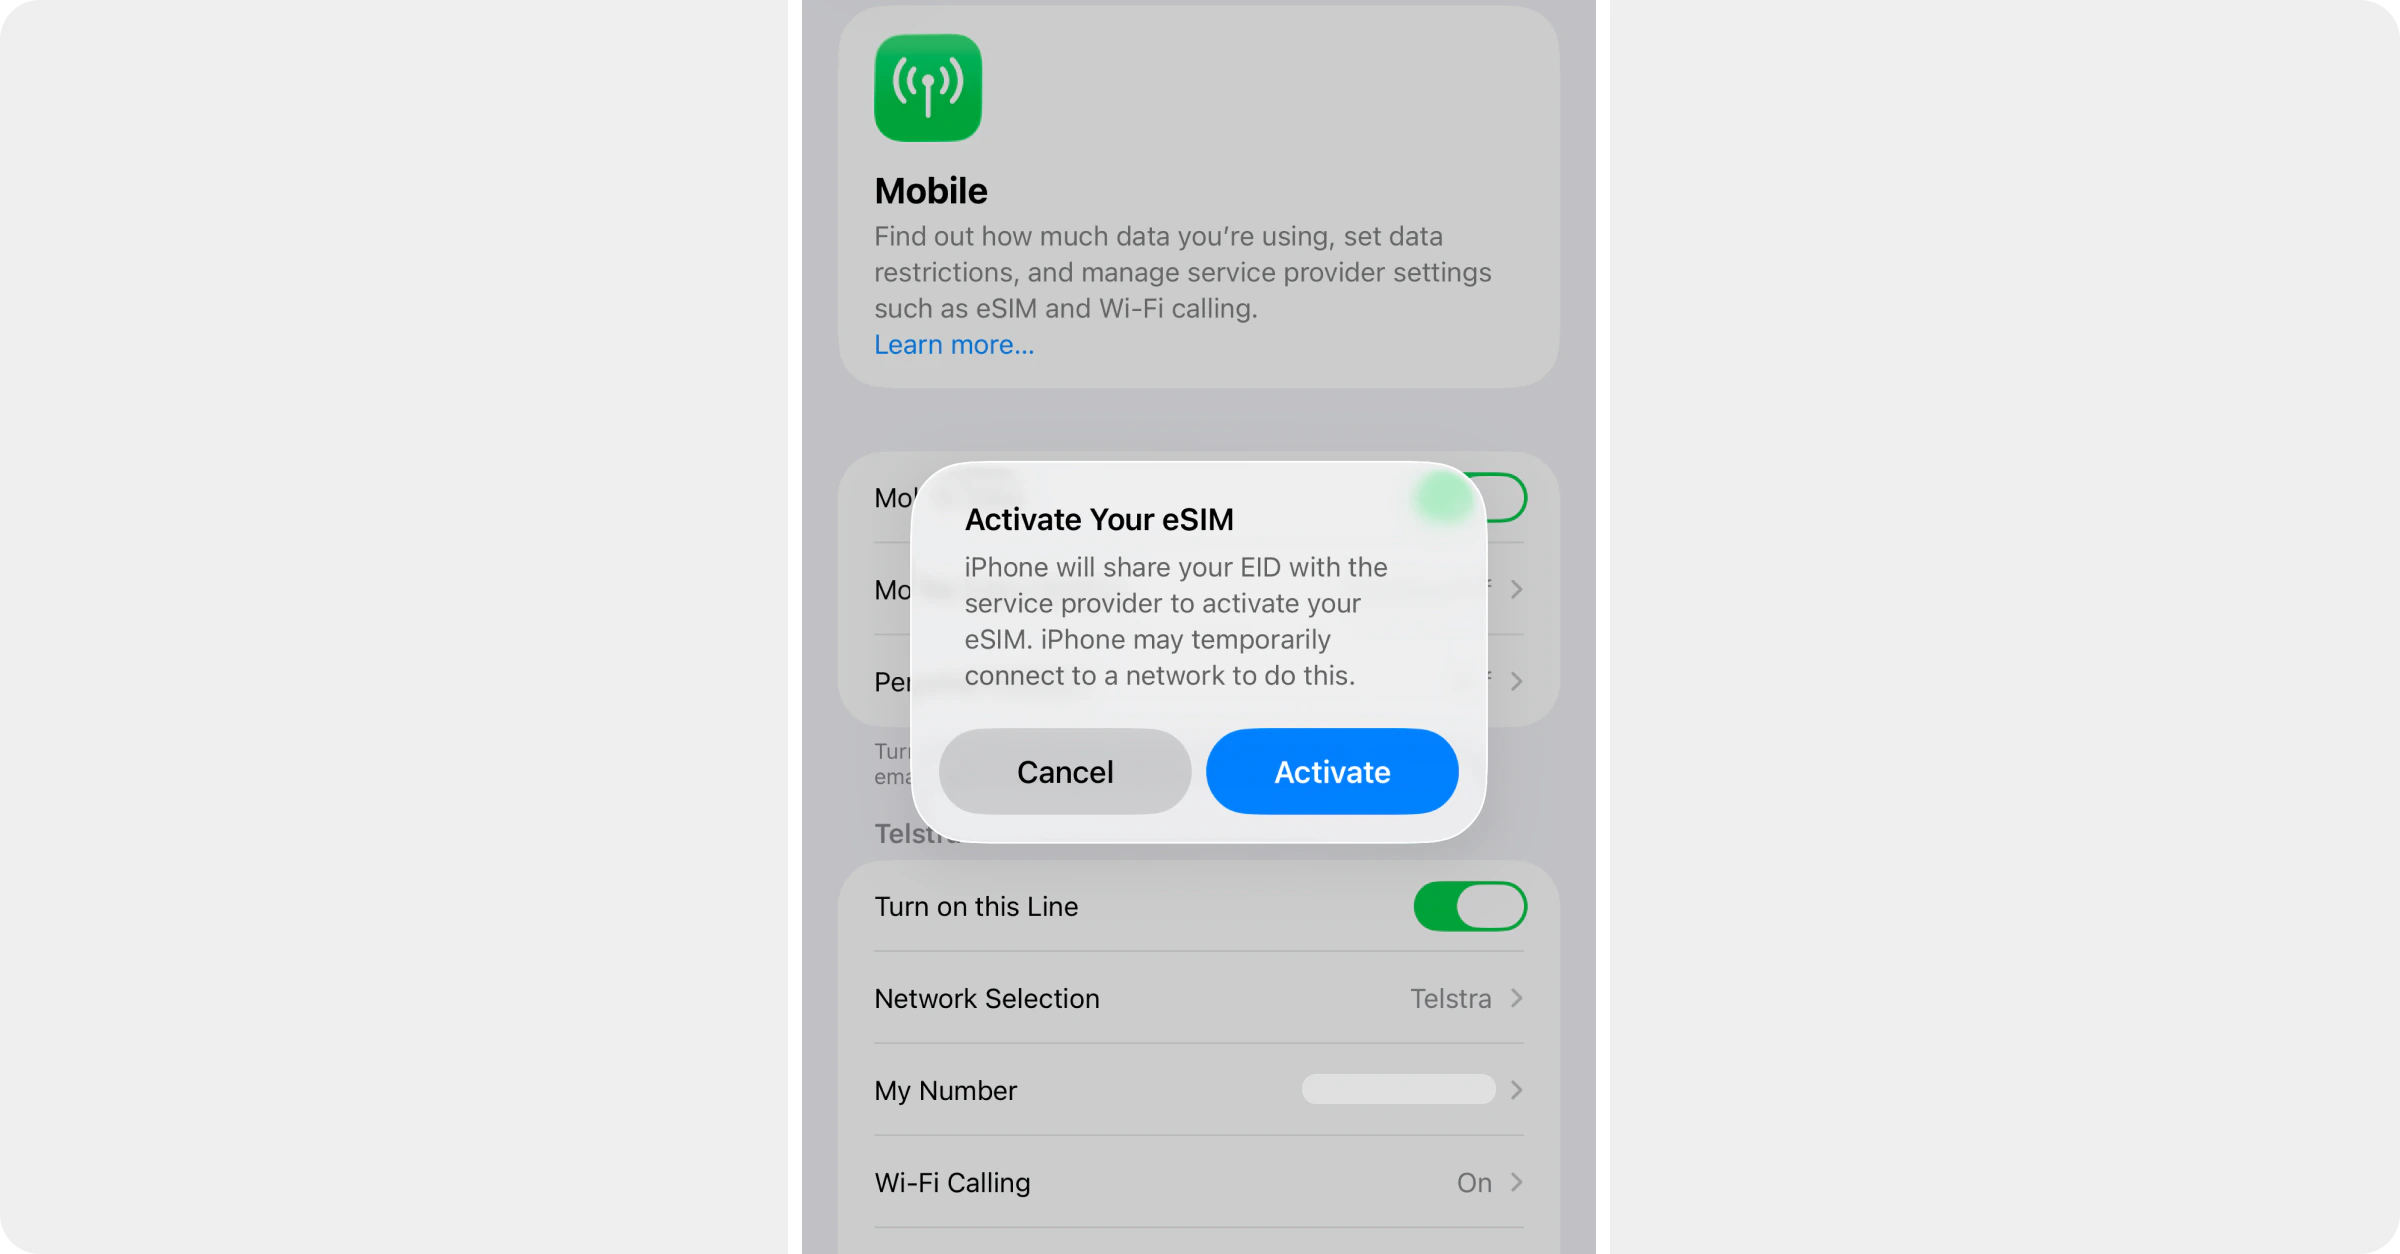
Choose your plan type
Once the eSIM profile has been downloaded and installed, your iPhone will ask what type of plan you have. As Roamly provides data-only plans, select Data Only.
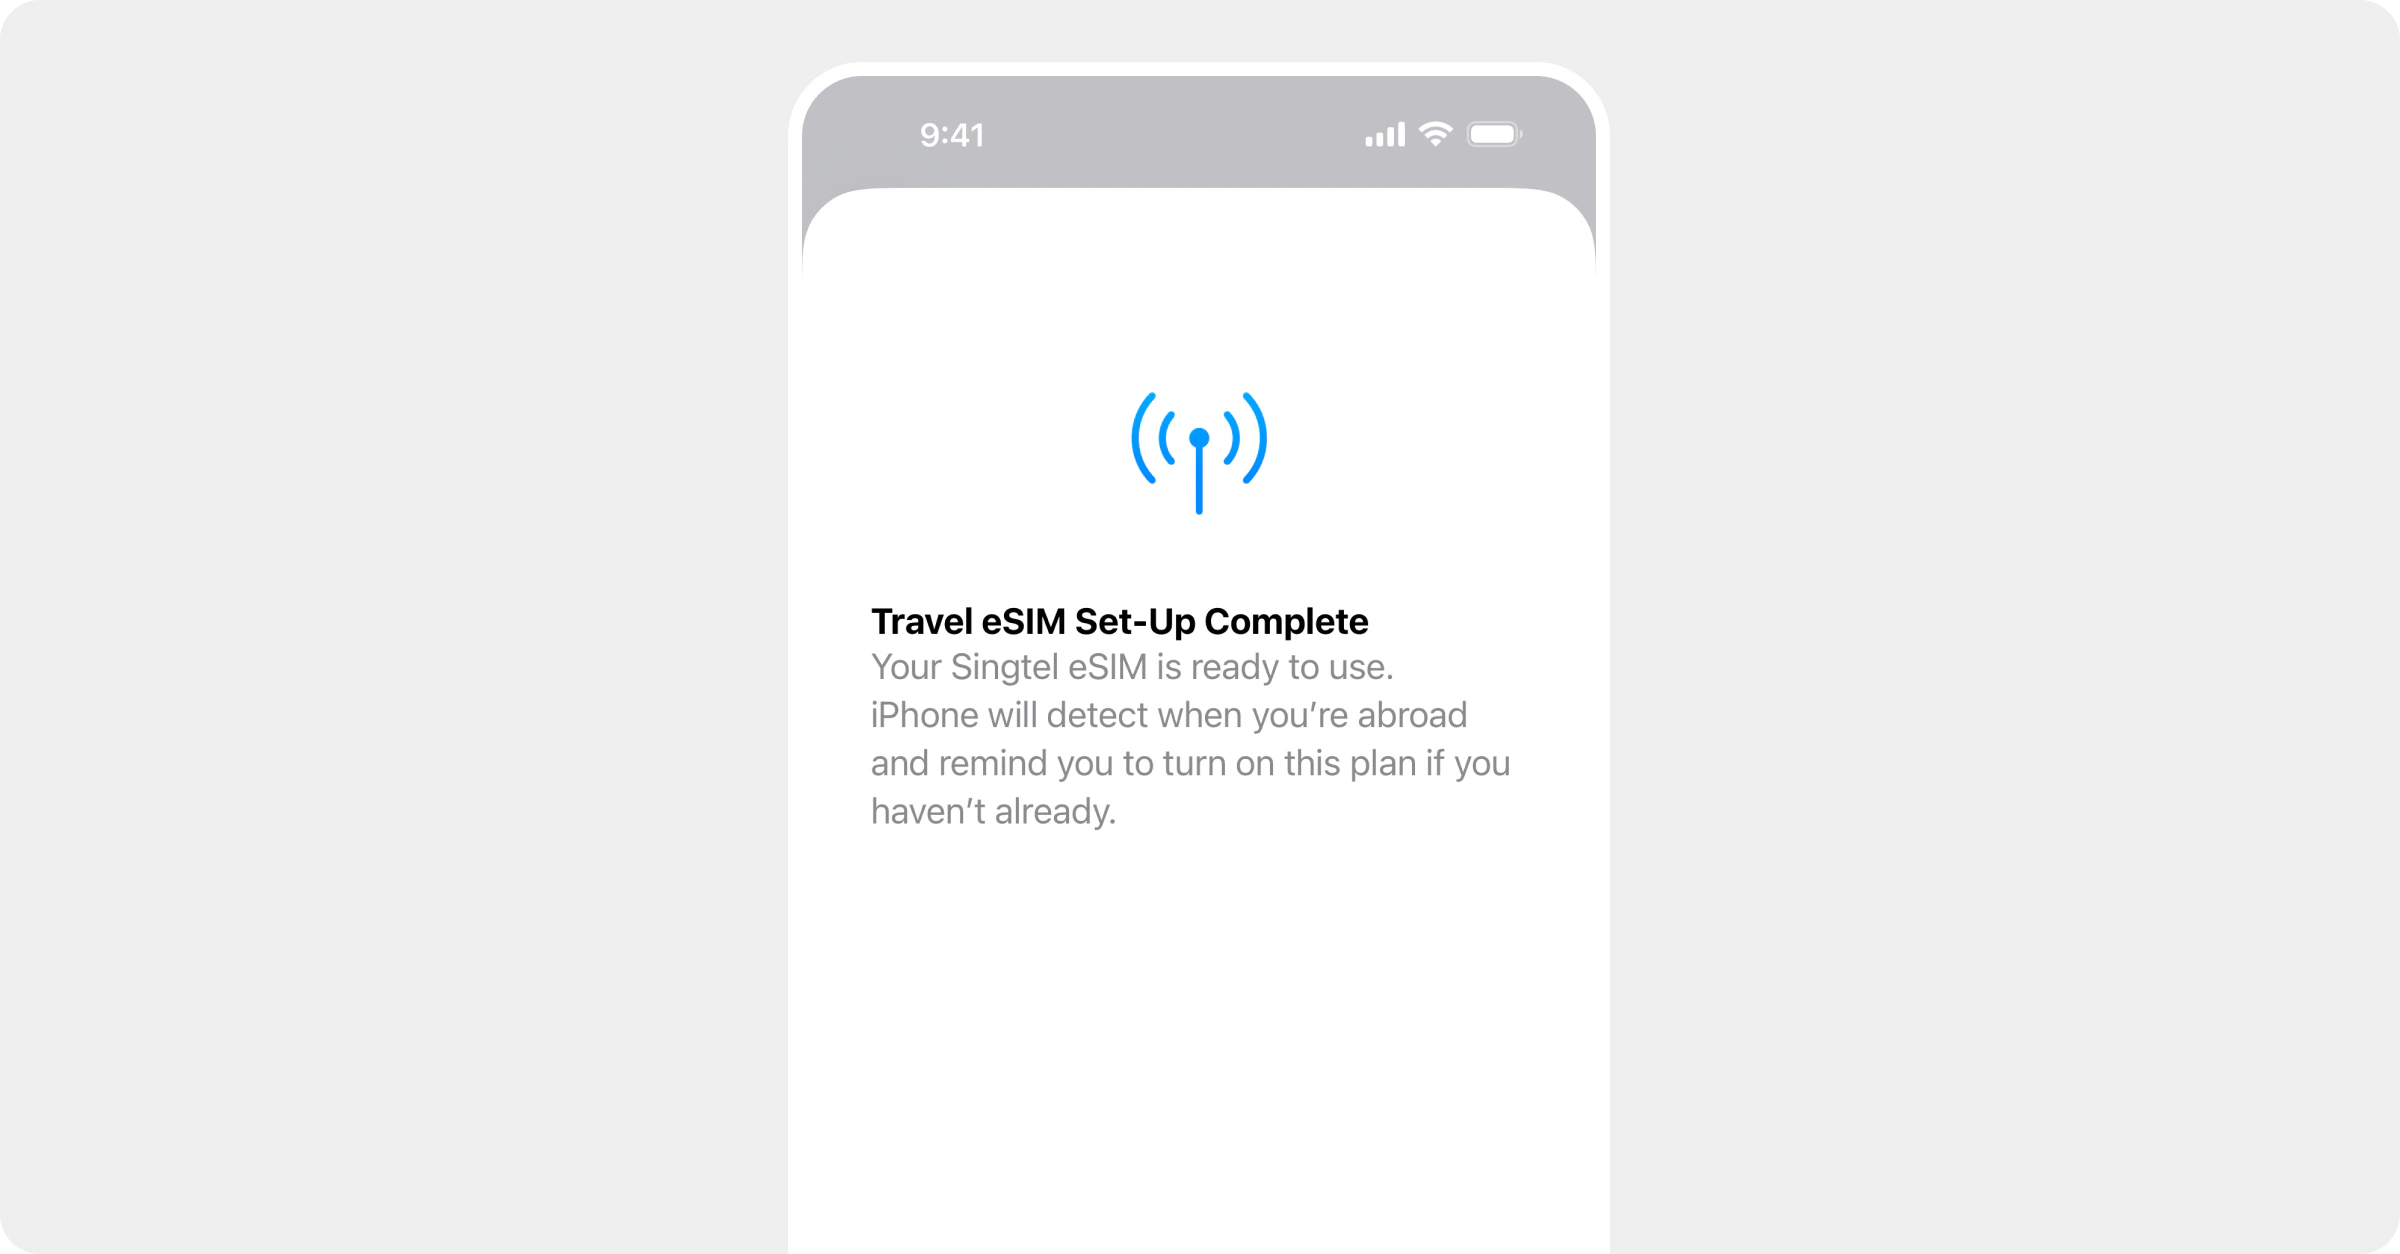
You're all set!
Your Roamly eSIM is now installed. You’ll see it listed under Settings > Mobile Data on your iPhone.Don’t turn it on yet — keep your eSIM toggled off until you arrive at your destination. Most plans start their validity period when you first connect to a network abroad.
Alternative: QR code method
If you’d prefer to install using a QR code, or want to install the eSIM on a different iPhone:Display the QR code
Log in to Roamly, go to My eSIMs, and tap on your eSIM. Tap “Show QR Code” to display it on screen.
Scan the QR code
On the iPhone you’d like to install the eSIM on, go to Settings > Mobile Data > Add eSIM > Use QR Code.Point your camera at the QR code displayed on the other screen.
When you arrive at your destination
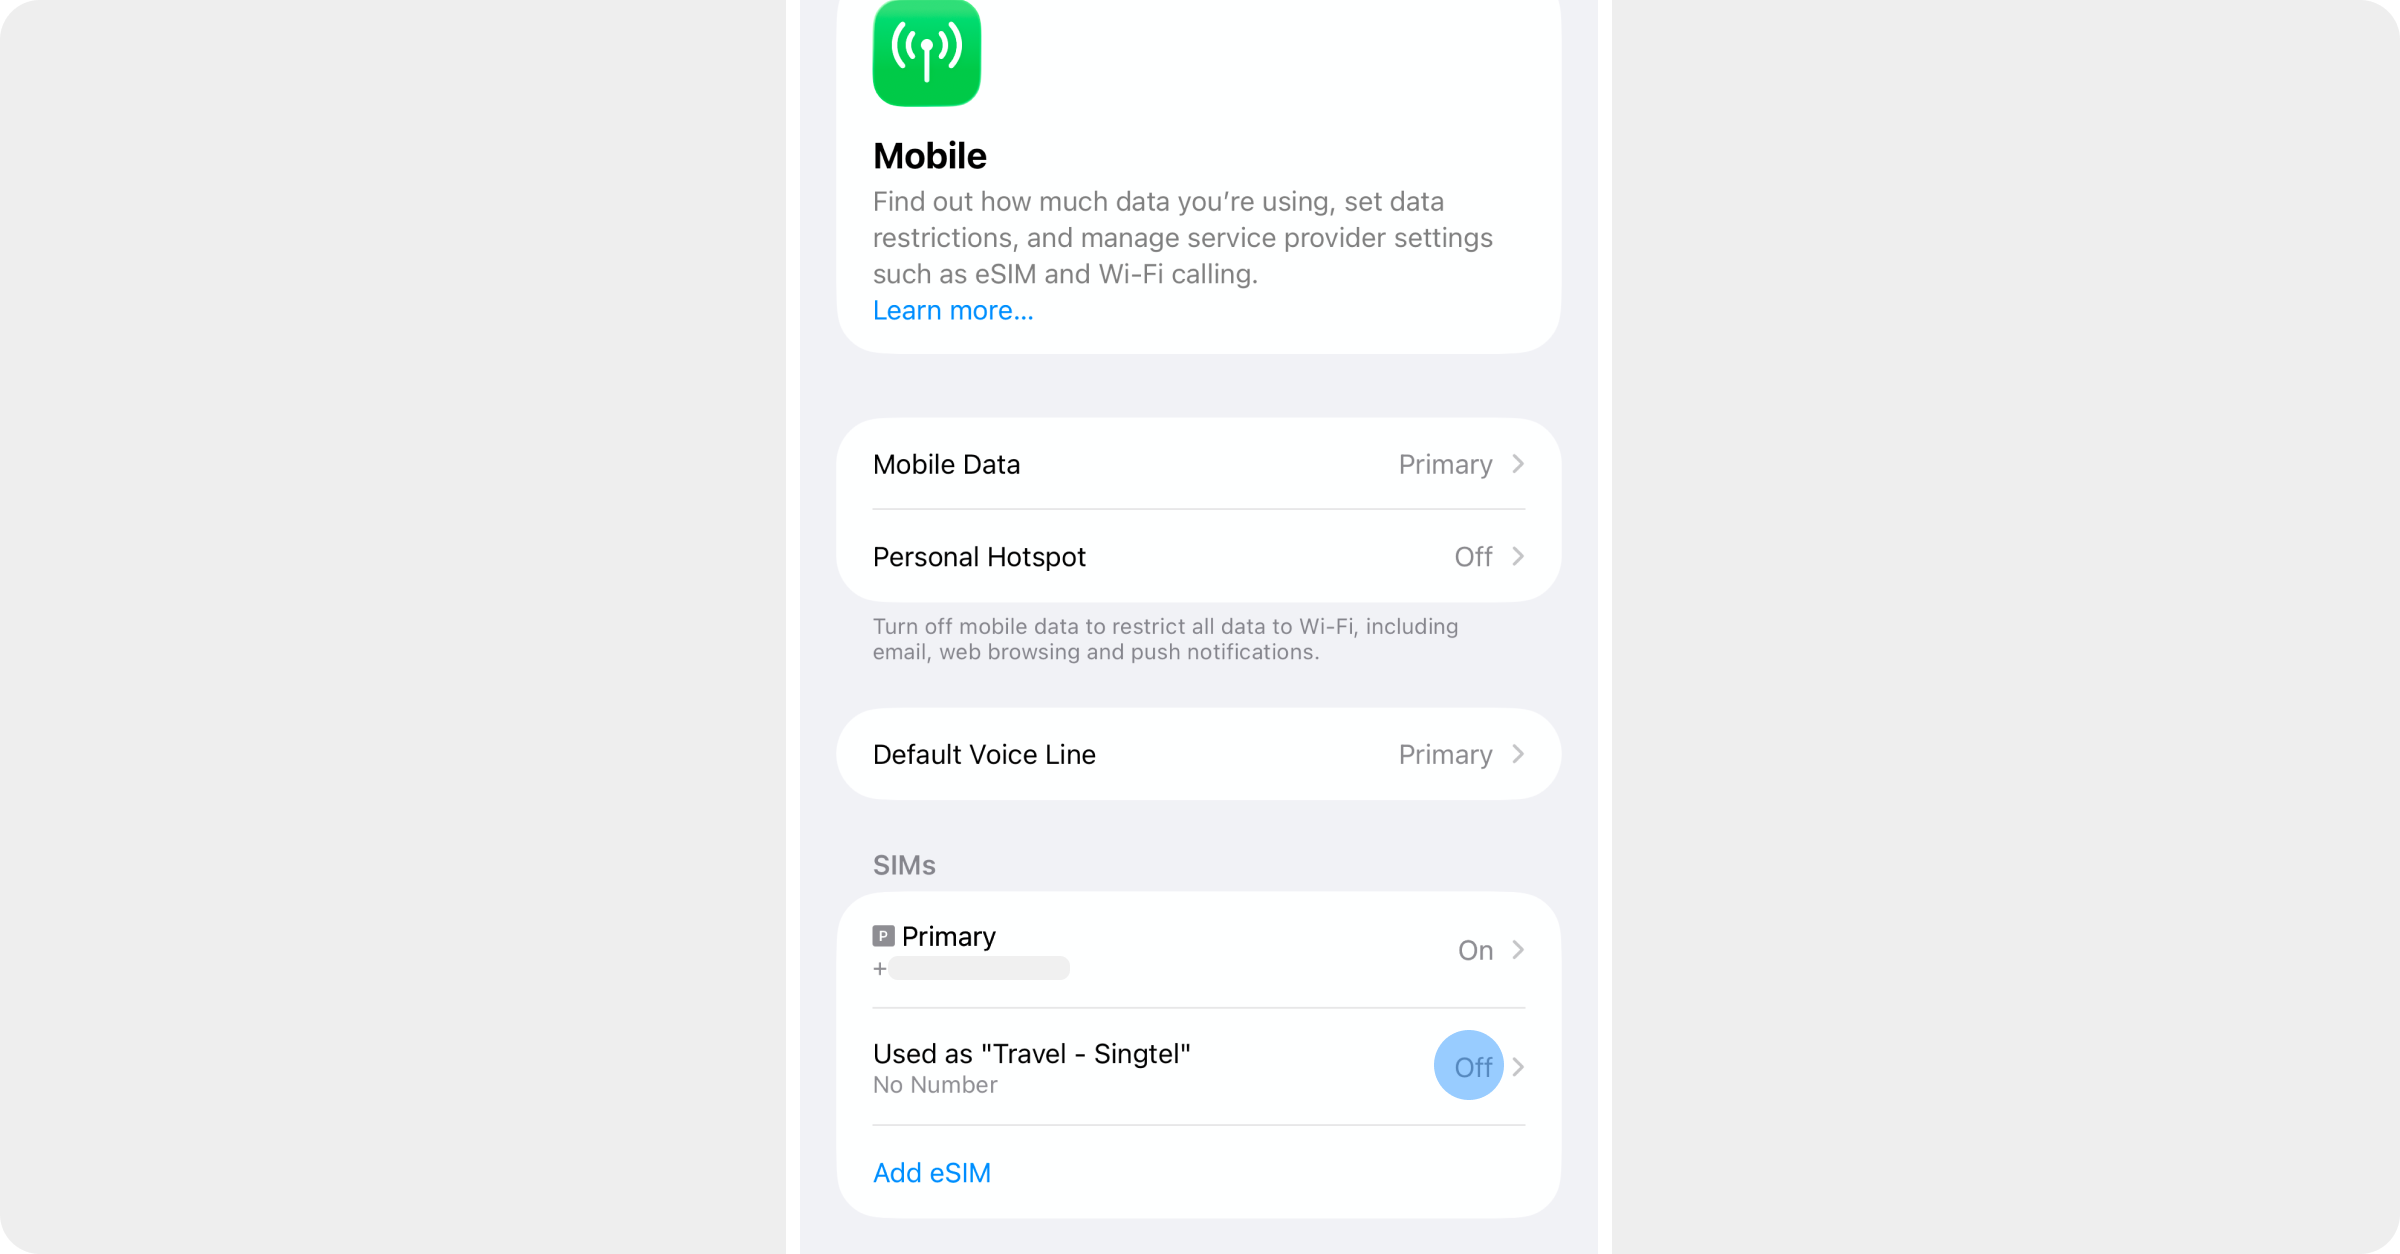
Turn on your travel line
Tap Turn On This Line to enable your Roamly eSIM.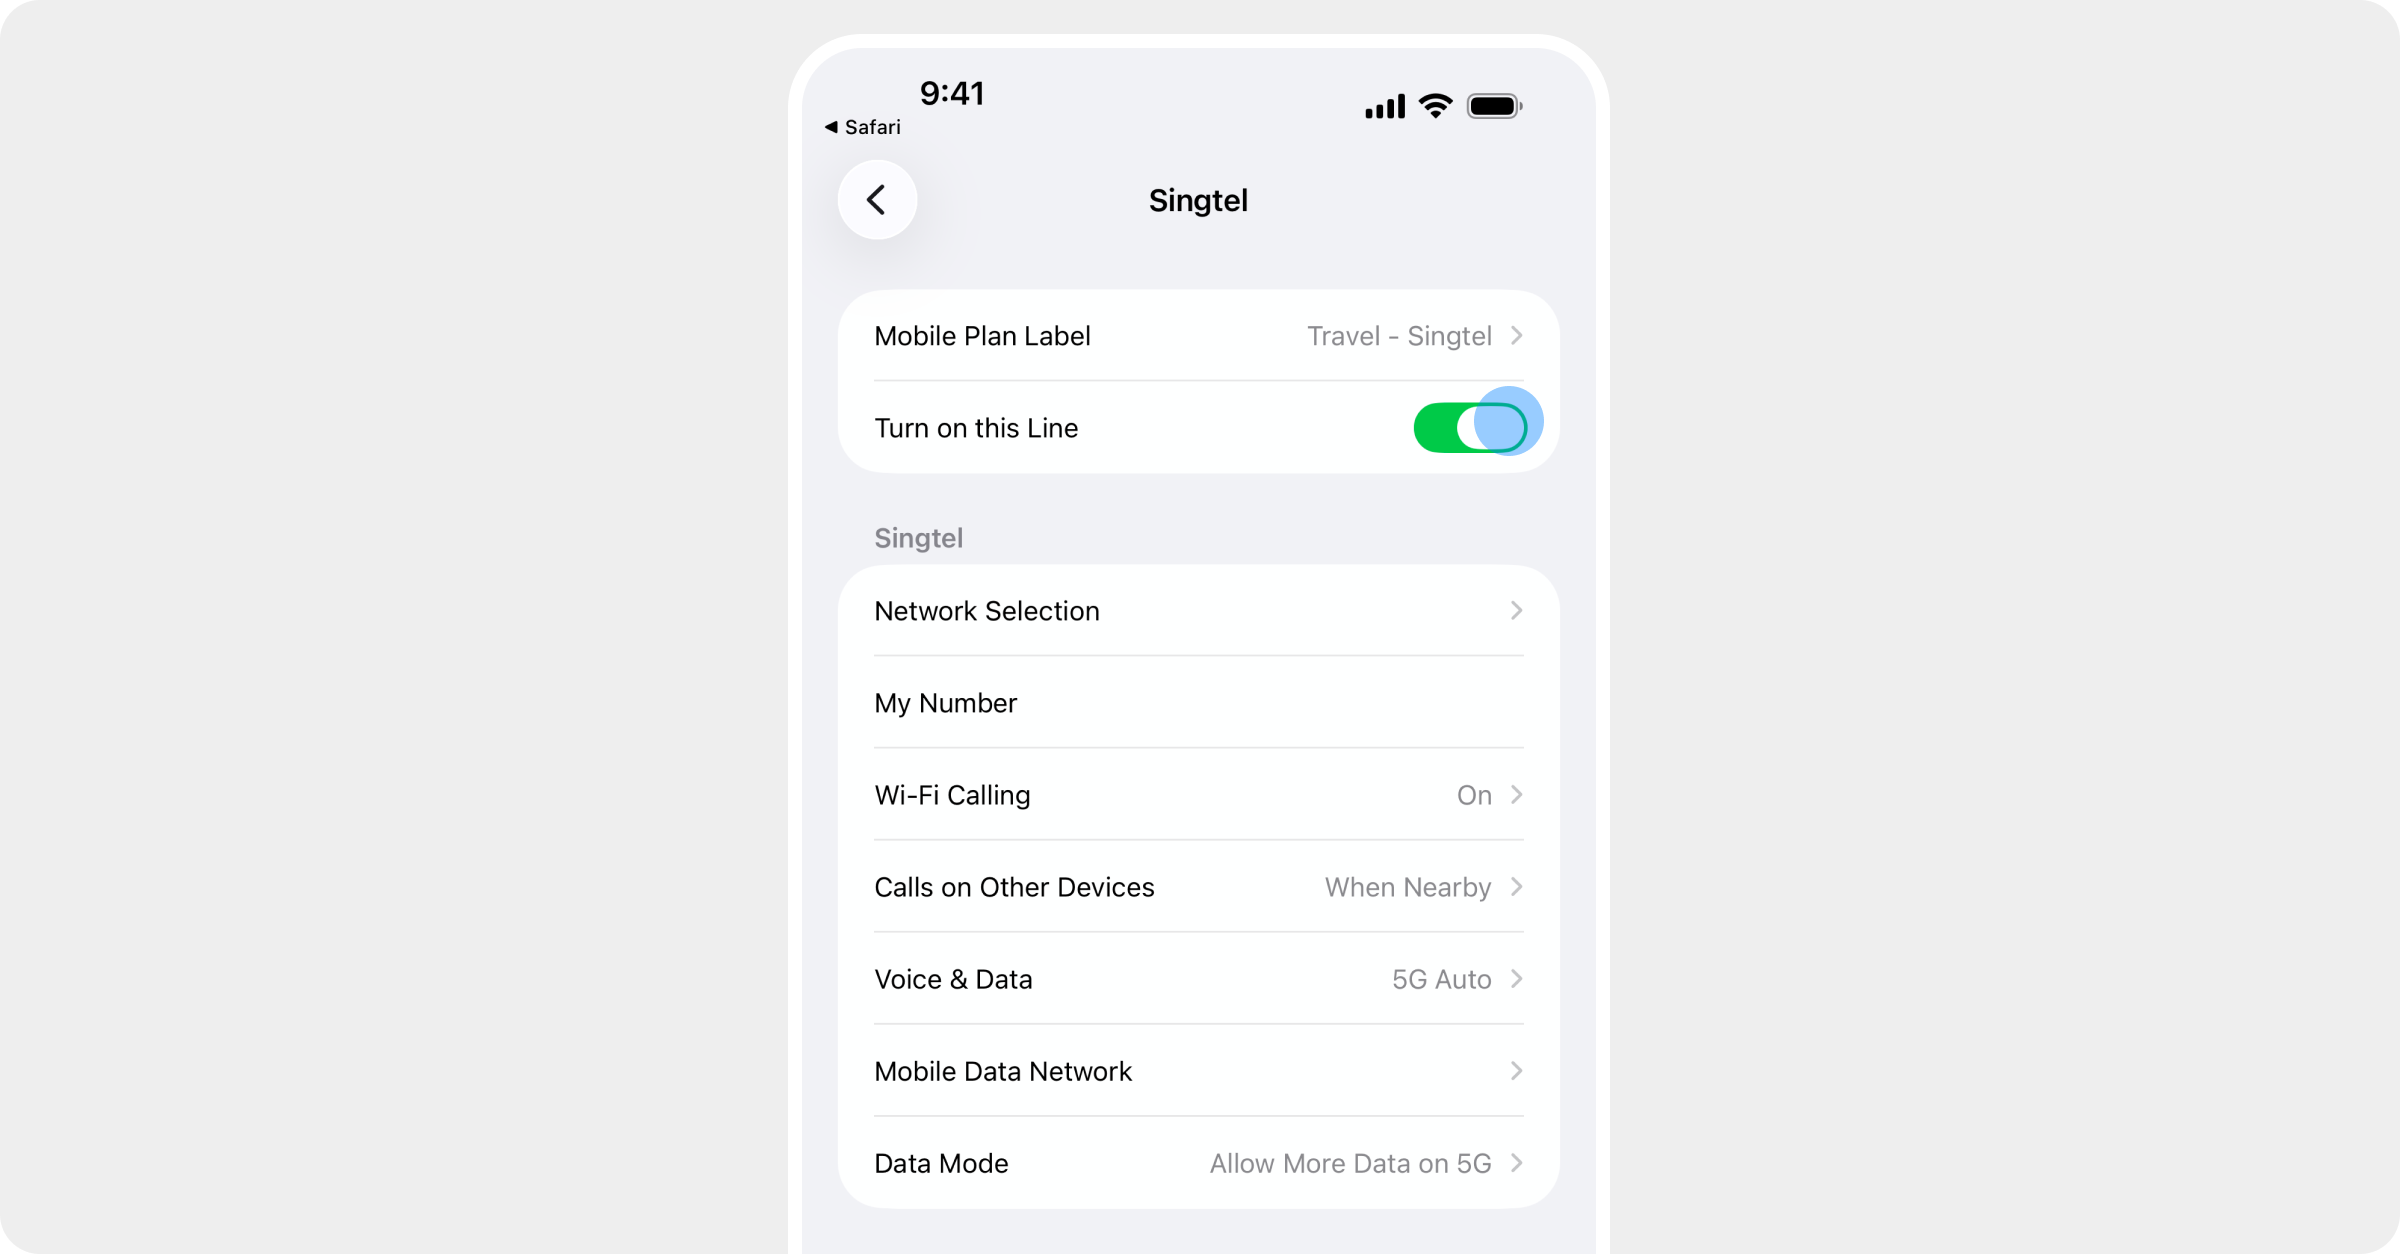
Switch your mobile data
Go to Settings > Mobile Data and select your Roamly travel eSIM as the active data line.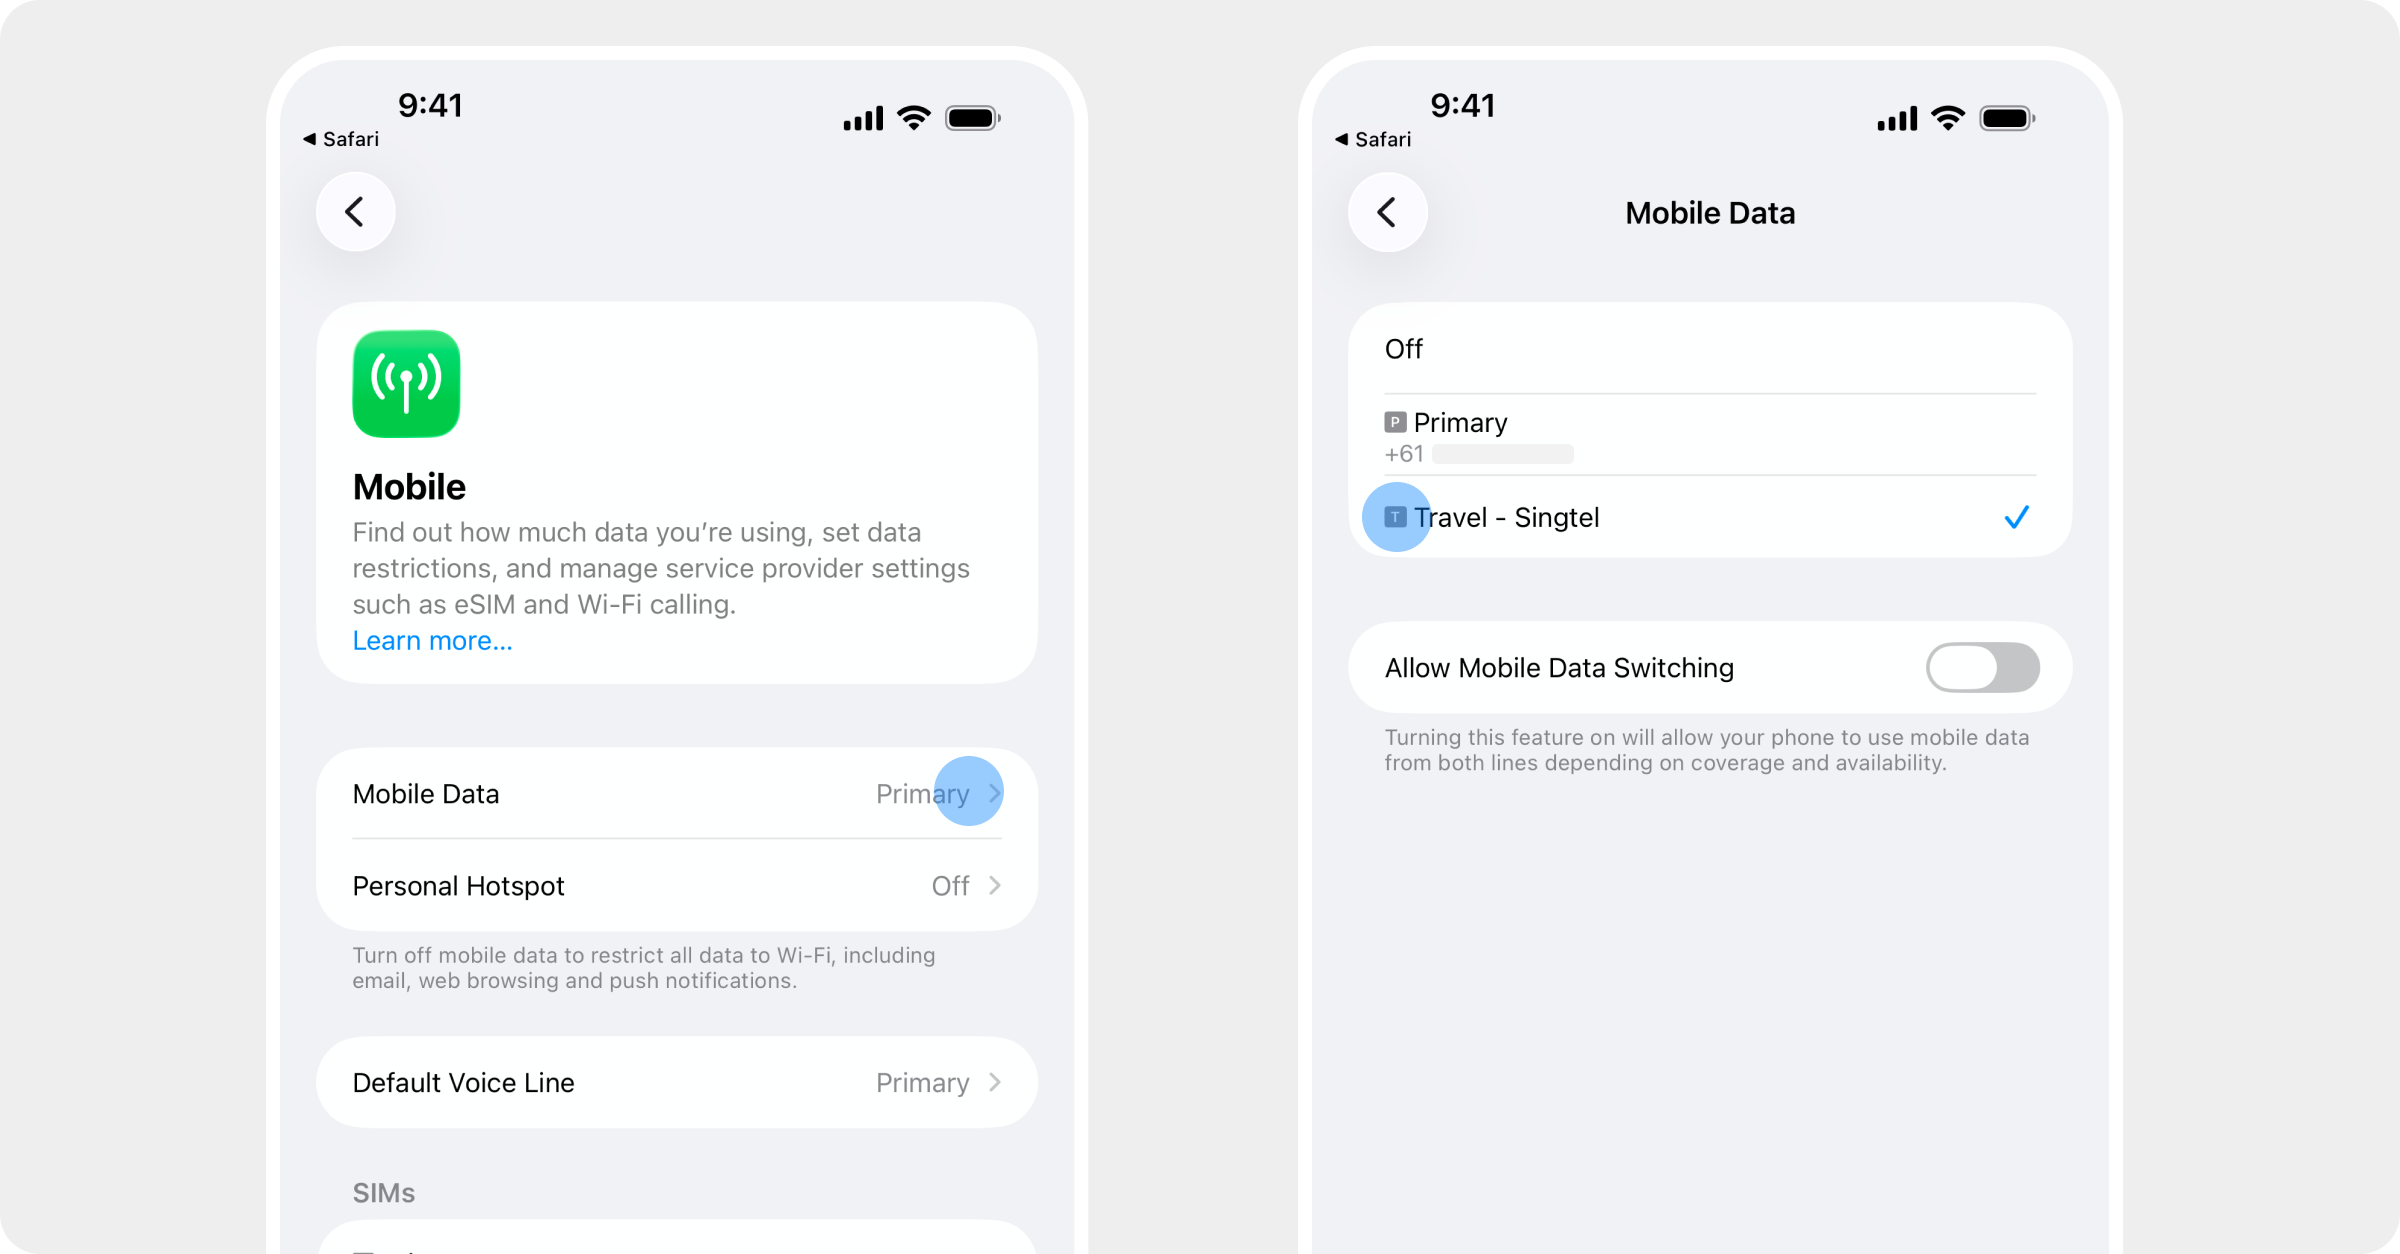
When you get home
Switch back to your primary line
Go to Settings > Mobile Data and select your primary (home) plan as the active data line.
Tips
- Install before you travel — Download your eSIM while you’re on WiFi at home. You can activate it when you land.
- Don’t delete your eSIM — If you remove it from your device, it cannot be reinstalled. Contact support if this happens.
- Need help? — Reach out via live chat, email, or phone and we’ll get you sorted.
Having trouble installing?
Check our troubleshooting guide for common installation issues.